

You may be wondering, why generate so many files? Well, let’s look at the following scenario. AdventureWorks’ Marketing department just completed modifying the Descriptions for their products and want to send out new brochures to their retailers. The printer does not have a SQL Server database and needs each of the descriptions in a separate file so they can create a brochure for each product. Your job is to generate each file from the CatalogDescription column in the Production.ProductModel table in AdventureWorks2012.
To summarize what we will be doing. First, we will need to create a recordset with the data from the table, then loop through each record and create a file and save it to a specified folder on a drive.
*Please note, you will need to have a basic understanding of creating an SSIS Package, connection managers and variables within the package.
First, create a new SSIS package in SQL Server 2012 Data Tools (BIDS) and setup the following Connection Managers and variables.
Connection managers
- AdventureWorks2012 database
- Flat File Connection Manager
Since we want each record to be an XML file, we will need to configure the connection to generate a filename at runtime. To do this, go to the properties for the Connection Manager and set up an Expression for the Connection String. In the image below, I am using the ProductModelID (PK in the Production.ProductModel table) to build a unique file name for the output with the expression.

SSIS Package Variables
We need the following variables in the package.
- ProductModelID – Int32 with a default Value of 1, this will hold the ProductID of each record
- xmlCatalog – String – this will hold the Catalog Description of each record
- ixmlOutput – Object – this will hold the recordset we will be creating in step 2.

select
  [ProductModelID]
  ,cast( [CatalogDescription] as varchar(8000)) as CatalogDesc
 from Production.ProductModel
 where CatalogDescription is not null

Under SQL Statement paste in the query above

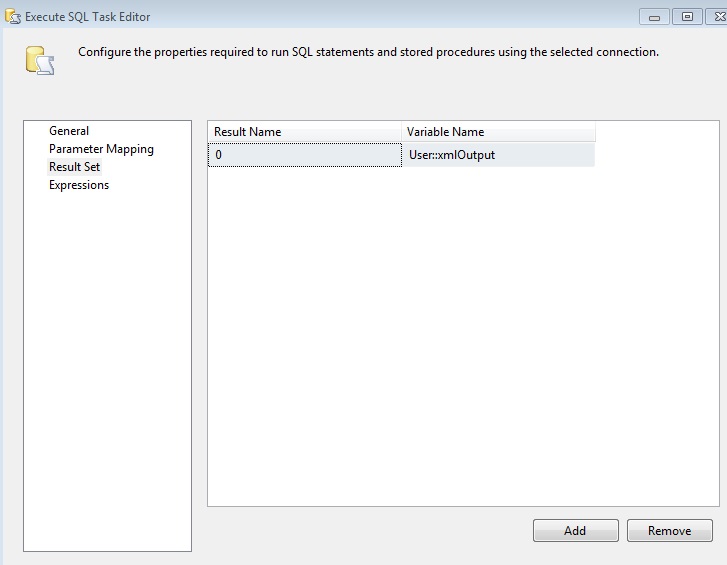
Next I set up the SQL task to send the results of the query to the object variable, xmlOutput, we created in the beginning. On the left side click on the Result Set Item. Then click on the Add button on the bottom left of the window. Enter a 0 (zero) for the Result Name and Select the Object variable you created at the beginning. Click on OK once everything has been configured.
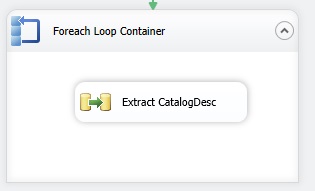
In order to create a file for each record in the recordset, we will need to setup the Foreach Loop Container in the Control Flow tab.
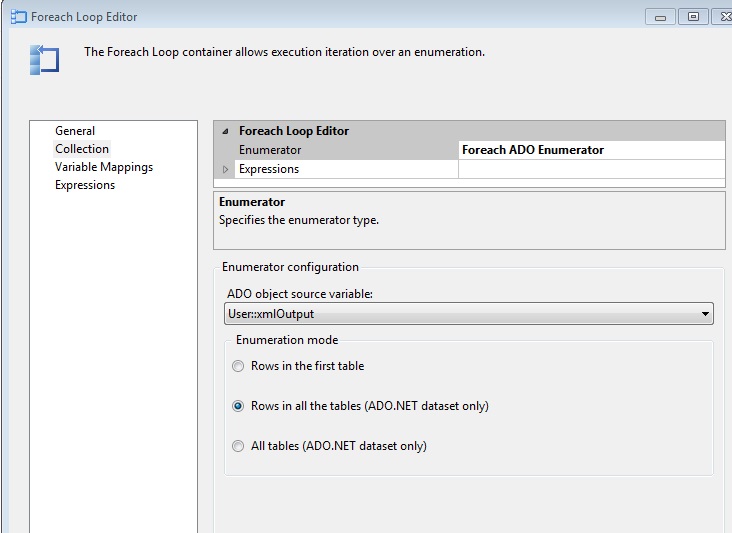
In this window, select each of the variables and start the index with a 0 (zero). Once everything is configured click on OK.

Now we are ready to setup a Data Flow task to write the XML data to a file. Drop the Data Flow Task into the Foreach Loop Container box and double Click on it to open the Data Flow tab.

In the Data Flow Task, we will need to setup a source and destination. In this case we will be using the Script Component for the source (Circled in Red). This component will read the data in the recordset we created earlier. Since we are calling the data flow task inside a Foreach Loop Container, it is reading one record at a time.
The output is a Flat File Destination (Circled in Blue).


Under Output Columns click on the Add Column button and type in a name for the output. In this case I am creating a column called CatalogResult. Make sure to select the DataType on the right hand side. Since this is essentially XML data, I selected the text stream data type.

Go back to the Script section and click on the Edit Script button. Enter the following code under the CreateNewOutputRows() sub. This code will only retrieve the records with Catalog Descriptions. It will then get the data from the variable, xmlCatalog. Once it has the data, it then assigns the record to the output column we created in the script component editor.
        Dim strCatalog As String
        If Me.Variables.xmlCatalog.ToString() <> "NoCatalogDesc" Then
            Output0Buffer.AddRow()
            strCatalog = Me.Variables.xmlCatalog.ToString
            Output0Buffer.CatalogResult.AddBlobData(System.Text.Encoding.UTF8.GetBytes(strCatalog))
End If 

Once this is complete, you are ready to save and execute the package. When exectution is complete, you can see that it created a separate XML file for each ProductModelID, as shown below.

Here is what the XML file looks like when you open it.

The steps outlined above can be used to export data out to other types of flat files, such as a csv file. Just make sure to setup your recordset to pull the data you need. The files are now ready to be transmitted to the retailers.
For the complete description of the Script Component, you can go to MSDN at http://msdn.microsoft.com/en-us/library/ms136060(v=sql.110).aspx
